Lab Safety, Aseptic Technique, Inoculation
The Microbiology laboratory is an active and potentially hazardous place. You will regularly work with boiling liquids, hot instruments, caustic or toxic chemicals, stains and high concentrations of microorganisms – much higher than would normally be found in nature. Students in the lab must understand and observe the following rules:
1. Wash hands after entering and before exiting the laboratory and at any time contamination is suspected.
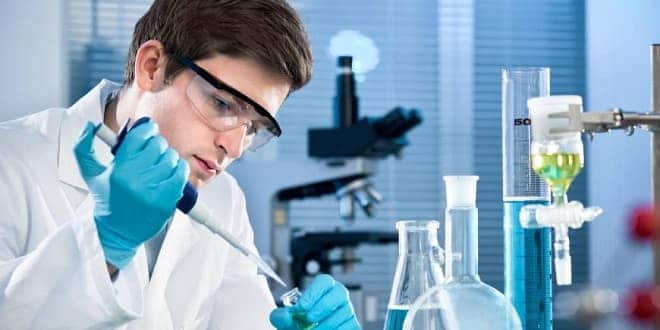
2. Tie long hair back, wear personal protective equipment (eye protection, coats, gloves, closed shoes; glasses may be preferred to contact lenses), and use such equipment in appropriate situations.
3. Disinfect lab benches and equipment prior to and at the conclusion of each lab session, using an appropriate disinfectant and allowing a suitable contact time.
4. Never eat, drink, apply cosmetics, handle contact lenses, or place objects (fingers, pencils, etc.) in the mouth or touch the face in the laboratory.
5. Store personal items (coats, backbacks) away from the workspace. Do not handle personal items (cell phones, pens) in the laboratory.
6. Minimize or contain the production of aerosols and understand the hazards associated with aerosols
7. Report all spills and broken glassware to the instructor and carry out instructions for cleanup.
8. Properly identify and dispose of different types of waste.
9. Conduct good lab practice procedures, including returning materials to proper locations, proper care and handling of equipment, and keeping the bench top clear of extraneous materials.
10. Report all injuries immediately to the instructor. Locate emergency equipment (eye wash stations, first aid kits, fire extinguishers, chemical safety showers, telephones, and emergency numbers)
11. Immune-compromised students (including those who are pregnant or may become pregnant) and students living with or caring for an immune-compromised individual should consult physicians to determine the appropriate level of participation in the laboratory.
B. Aseptic technique
Good aseptic or sterile technique is of critical importance in many areas of biology, particularly in Microbiology. Aseptic technique has two purposes:
1. Preventing contamination of experimental materials with microbes from the environment, including from your body.
2. Preventing contamination of the environment, including your body, with microbes that are in use.
List a reason that each is important. What could be consequences of contamination?
To minimize the number of microbes in your work environment, always wash your hands with soap and water and disinfect your lab bench at the beginning of lab. At first, many of the manipulations and methods of handling materials will seem awkward. Within a few weeks, however, these procedures will be second nature. We will begin by performing several different types of transfers with different tools. Your instructor will demonstrate each technique before you attempt it.
1. Always begin work by disinfecting your work area. Spray disinfectant on the benchtop and wipe off with paper towels.
2. Transferring liquids using sterile glass pipettes – frequently done to distribute sterile liquid growth medium into sterile culture tubes. Always think of ways to minimize the potential for contamination.
a. Label 5 sterile 16×125 mm tubes with your initials and 1, 2, 3, 4 and 5; and 4 sterile 13×100 mm tubes with your initials and 6, 7, 8, and 9.
b. Aseptically transfer 7 ml tryptic soy broth (TSB) from the flask into each of the 16×125 mm tubes.
c. Transfer 2 mL TSB from tube 1 into tubes 6 & 7, and from tube 2 into tubes 8 & 9.
• Loosen caps of source and recipient containers.
• Keep tip and shaft of pipette in sterile environment while attaching pre-aspirated bulb or pipetting device.
•After removing pipette from container, do not hold it with hand above pipette.
• Remove cap of source container, pick up container and hold at an angle so that opening is less accessible from above.
• Draw sample into pipette.
• Put source container down, replace cap.
• Remove cap of recipient container, pick up container and hold at an angle so that opening is less accessible from above.
• Dispense sample into recipient container, replace cap.
• If reusing (glass) pipette, pass it through flame before drawing more sample.
3. Transferring liquids using a micropipettor – frequently done when making a dilution series or adding supplements such as antibiotics to medium.
a. Review use of micropipettors if necessary
…


